You're One Gallon Jug Away From Becoming a Cider Person, and Honestly It's Too Late to Stop You
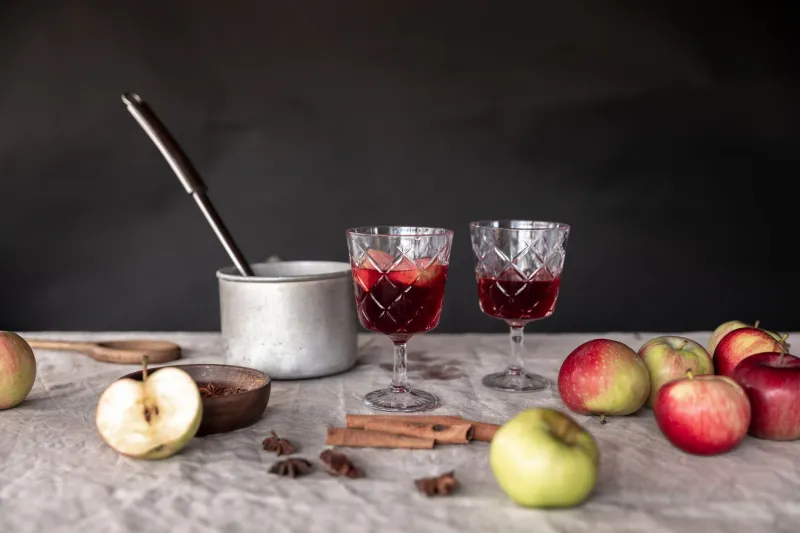
Somewhere between your sourdough phase and your ill-fated attempt to brew kombucha (rest in peace, SCOBY), you landed on hard apple cider. Congratulations. This is a completely reasonable life choice and not at all a sign that you've entered a new era of "fermenting things in jugs and talking about it at parties." Welcome. The jug people are delighted to have you.
The good news? Making hard apple cider at home is genuinely one of the easiest fermentation projects a human being can undertake. The better news? It tastes great. The slightly alarming news? Once you make one batch, you will make seventeen more, name them all, and start referring to your kitchen as "the cidery." Fair warning.
Let's walk through how to do this the easy way — because there is an easy way, and anyone who tells you otherwise is just trying to feel superior at the farmers market.
What You Actually Need (It's Not Much)
Here's the beautiful part: the supply list for easy homemade hard cider is almost insultingly short. You will need:
- One gallon of fresh apple juice or apple cider — the unfiltered, no-preservative kind from the refrigerated section or your local orchard. Do NOT use the shelf-stable stuff with potassium sorbate listed in the ingredients. That chemical is a yeast assassin and your cider will just sit there, flat and sad, going nowhere.
- One packet of dry yeast — champagne yeast, cider yeast, or even plain old bread yeast in a pinch (though bread yeast will give you something that tastes like apple juice made a questionable decision, so aim for champagne or cider yeast if you can find it at a homebrew shop).
- One airlock and stopper — these cost about three dollars at any homebrew store or online, and they are non-negotiable. This little device lets carbon dioxide escape without letting anything gross back in. Think of it as a bouncer for your jug.
- One gallon glass jug — the apple juice you buy might already come in one. Destiny.
- Optional: 1/4 cup of sugar or honey to bump up the alcohol content slightly and add a little complexity.
That's it. That's the list. You were probably expecting something involving a copper still and a degree in chemistry, but no. This is beginner territory and it is absolutely glorious.
The Process, Which Is Embarrassingly Simple
Step one: Pour out (or drink) about a cup of juice from your gallon jug to make room for the yeast and any sugar you're adding. This is the most fun step because you get to drink apple juice like a kindergartner.
Step two: If you're adding sugar or honey, dissolve it in a little warm water first, then pour it into the jug. This is called "must" in fermentation circles, which sounds very official and will make you feel like you know what you're doing.
Step three: Sprinkle your yeast packet directly into the jug. You don't need to proof it or do anything fancy. Just add it. Give the jug a gentle swirl.
Step four: Fit your stopper and airlock into the top of the jug. Fill the airlock halfway with water. Watch it like it's a lava lamp. It will start bubbling within 24 to 48 hours and you will find this unreasonably satisfying.
Step five: Set the jug somewhere cool and dark — between 60 and 70 degrees Fahrenheit is ideal. A closet, a corner of your basement, or behind the couch where your roommate won't ask questions.
How Long Does This Take?
For a basic, easy hard cider, you're looking at one to two weeks of fermentation. You'll know it's done when the bubbling in the airlock slows to nearly nothing — like, one bubble every minute or two. At that point, your cider is technically ready to drink, though it'll be a little yeasty and rough around the edges.
For a cleaner, more refined result, let it sit another week or two after fermentation slows. This "conditioning" phase lets the yeast settle to the bottom and the flavors mellow out. You can then carefully pour (or siphon) the cider into a clean bottle, leaving the yeasty sediment behind at the bottom of the jug.
Alcohol content will land somewhere around 4 to 6 percent ABV depending on the sugar content of your juice and whether you added extra. That's solidly in craft beer territory, which means you can absolutely serve this to guests with a straight face and a slightly smug expression.
How to Make It Taste Like You Know What You're Doing
Once you've got the basics down, here's where the real fun starts — and by "fun" we mean "the part where you start taking notes in a little notebook and your family becomes concerned."
- Add cinnamon sticks or whole cloves to the jug before fermentation for a spiced fall cider that will make your entire home smell like a Yankee Candle store.
- Swap in pear juice for half of the apple juice to make a pear-apple blend that sounds fancy and requires zero additional effort.
- Use honey instead of sugar for a cider-mead hybrid called a cyser, which you can absolutely mention at dinner parties.
- Back-sweeten after fermentation by adding a splash of fresh apple juice right before drinking if you prefer something less dry.
A Few Things That Will Go Wrong (And That's Fine)
Look, no fermentation journey is without its character-building moments. Here's what might happen and how to not panic:
It smells weird. Yes. Fermentation smells like yeast doing its thing. That's normal. If it smells like nail polish remover or actual garbage, something went wrong and you should start over.
It's not bubbling. Check your airlock seal. Sometimes the stopper isn't fully seated and CO2 is escaping around it rather than through it. Push it in firmly and give it another day.
It tastes too dry. Add a little juice. Stir. Drink it anyway. You made this.
Your partner has opinions about the jug in the closet. This is a relationship conversation beyond the scope of this article.
Go Forth and Ferment
Making hard apple cider at home is one of those rare activities that is genuinely easy, genuinely rewarding, and — perhaps most importantly — gives you an excellent excuse to buy a gallon of apple juice and stand in your kitchen feeling like a 19th-century farmhand with very good taste.
You'll spend maybe fifteen minutes of actual hands-on time and about two weeks of mostly ignoring a jug in a closet. The result is a real, drinkable, shareable hard cider that you made yourself, which is the kind of thing that sounds impressive until you explain how simple it actually was.
But here's the thing: simple is good. Simple means you'll do it again. And again. And before you know it, you've got four jugs going, a spreadsheet tracking fermentation timelines, and a Pinterest board titled "The Cidery."
Are we crazy, or what?